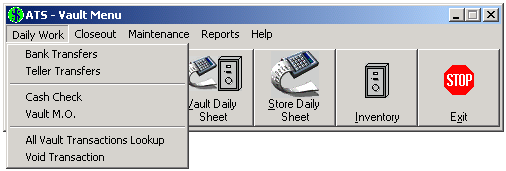
Process, void, and lookup teller transactions.
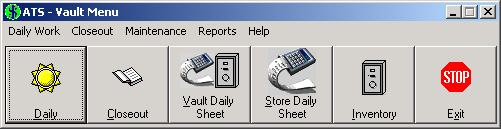
Below is an image of the ATS Vault menu. Click any of the menu items to jump directly to that section.
Process or void Vault transactions.
Below is an image of the Vault Daily Work menu. Click any of the menu items menus to jump directly to that section.
Transfer inventory into or out of the Vault.
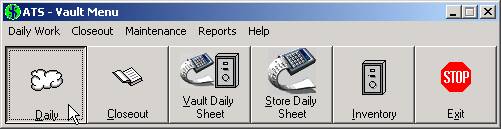
Click on the Daily button.
Alternatively, click on the Daily Work menu and choose Bank Transfers or Teller Transfers as described below.
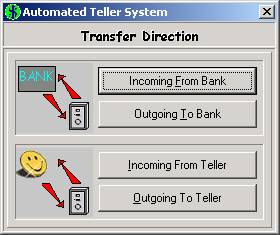
There are four types of transactions for increasing or decreasing Vault inventory. They are divided into Bank Transfers and Teller Transfers.
Incoming From Bank— Bring inventory into the Vault from the Bank.
Outgoing To Bank— Send inventory from the Vault to the Bank.
Incoming From Teller— Bring inventory into the Vault from a Teller’s drawer.
Outgoing To Teller— Send inventory to a Teller drawer from the Vault.
For teller transfers, the user chooses from a list of tellers that are currently logged into ATS.
Click one of these four buttons depending on the type of transfer being entered.

In the example above, From Bank to Vault is displayed in the blue header at the top of the screen. The window above is identical for all four types of transfers except for this header.
The menu on the left represents the inventory stored in the Vault, most of these containing submenus where the individual items are listed. Because different Stores carry various types of inventory, this menu is customized for each location. See the Vault Menu section in ATS Setup for details.
Double click on the item to be transferred, or use the up and down arrows on the keyboard and press Enter.
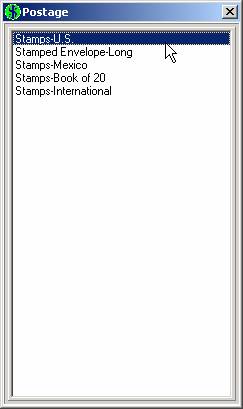
In this example, different types of stamps and envelopes are grouped together under the main menu item Postage. This arrangement provides a cleaner menu setup and a more efficient way to find the correct item.
Use the mouse or keyboard to choose the correct item.
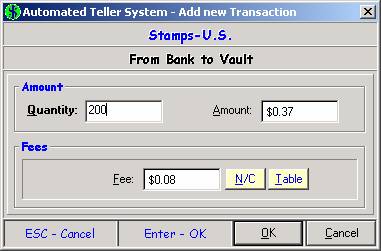
The Amount and Fee (if one exists) fill in automatically. These values can be changed but the defaults are set in the Vault Menu of ATS Setup.
Enter the Quantity and press Enter. The transaction is now listed on the right side of the screen.
The Postage submenu remains on the screen. Repeat the process described above for additional Postage transfers, or press the Escape key to return to the main menu.
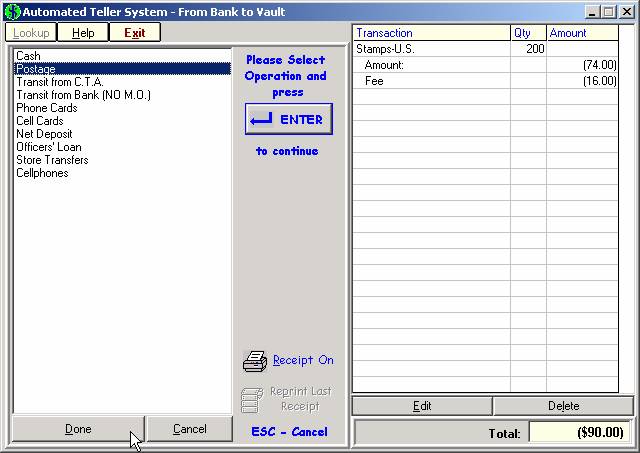
The transaction entered is now listed on the right side of the screen. To transfer another item in this direction, highlight the correct type of inventory on the left and repeat the steps above. Otherwise click Done (or one of the buttons described here).
Done— Completes the transaction.
Cancel— Cancels the transaction without saving your work. If more than one transaction has been entered, they are all canceled.
Edit— Return to the previous screen where the user can change the quantity entered. If more than one transaction has been entered, highlight the desired entry with the mouse before clicking Edit.
Delete— Deletes the transaction without saving your work. If more than one transaction has been entered, highlight the desired entry with the mouse before clicking Delete.
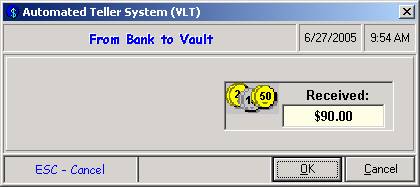
A final window appears verifying the direction of transfer and the value of inventory. Click OK if this is correct to complete the transaction. Cancel returns to the previous screen where adjustments can be made.
Cash a check directly from Vault.

Click on the Daily Work menu and choose Cash Check.
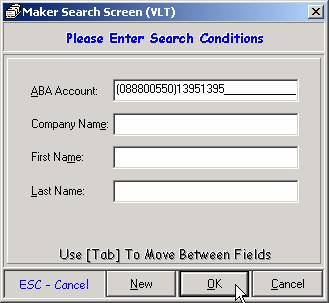
The Maker Search Screen appears.
One customer is defined (in ATS Setup, Store Setup) with the ability to cash a check from the Vault. It is assumed that when using the Vault Cash Check option that it is for this customer and only this customer. Therefore, the next step is looking up the maker.
Scan the check into the Magtek to automatically read the ABA. Alternatively, use the Name fields to search by name. Company Name is used for businesses while First and Last is for personal checks. It is good practice to enter as little information as necessary on this type of screen. This way mistakes such as misspellings do not overly limit the search, preventing the correct records from being found.
See the Sigcard documentation for more information on cashing checks.
Print a Store Money Order from the Vault.
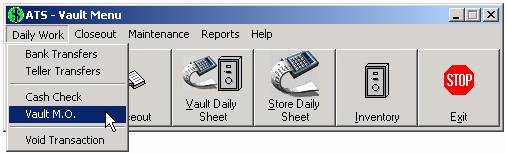
Click on the Daily Work menu and choose Vault M.O.
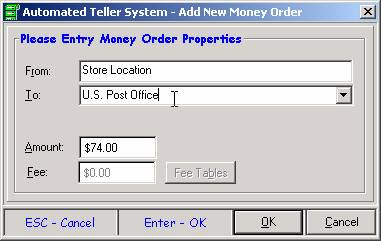
A window comes up with the same functionality as the Filled In Money Order option in the ATS Teller menu.
The Store name fills in automatically in the From section. The Fee is set to no charge.
Enter the payee name in the To field, or use the drop down for those listed in the Frequent Payee List.
Press Enter or click OK to continue. The money order is sent directly to the printer.
Void (or unvoid) a Vault transaction.
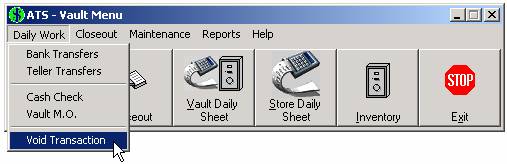
Click on the Daily Work menu and choose Void Transaction.
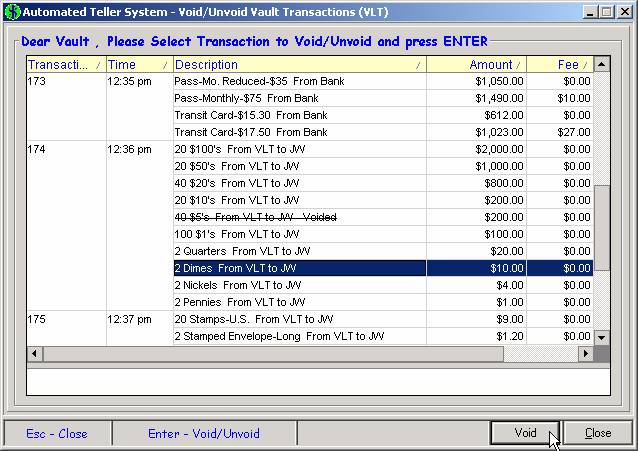
A list of all unclosed transactions appears on the screen in chronological order. A transaction with a line through the description is already voided.
Highlight the desired transaction and click the Void button. A window pops up asking if you are sure you want to void this transaction. Click Yes to void.
Similarly, a transaction can be un-voided. Highlight a voided transaction and the Void button will switch to UnVoid. Click on UnVoid and a window pops up asking if you are sure you want to unvoid this transaction. Click Yes to unvoid.
When multiple transfers have been entered in the same transaction, the following window pops up.
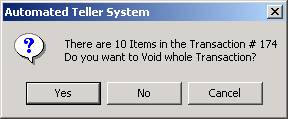
Click Yes to void the entire transaction, or No to void only the highlighted row.