Transfer inventory between Tellers, or enter Vault mode to transfer items into and out of the Vault.
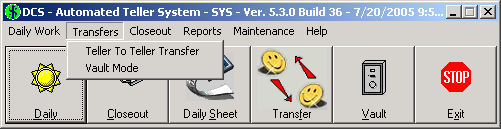
Below is an image of the Transfers menu. Click any of the menu items to jump directly to that section.
Transfer inventory between Tellers.
NOTE: For a transfer between Tellers, both Tellers must be currently logged in. Also, only one Teller should process the transfer.
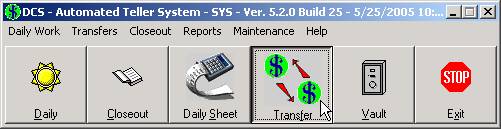
Click on the Transfer button.
Alternatively, click on the Transfers menu and choose Teller to Teller Transfer.
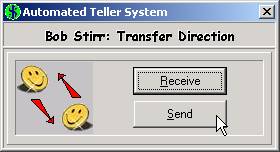
Only one of the Tellers involved in the transfer needs to enter it into the system.
Click Receive when on the receiving end of the transfer, or Send when you are providing the inventory.
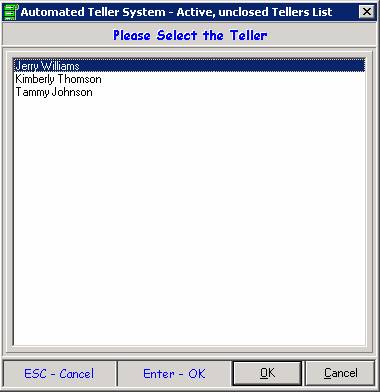
The next step is to choose the second Teller involved in the transfer. Choose from a list of logged-in Tellers and click OK..
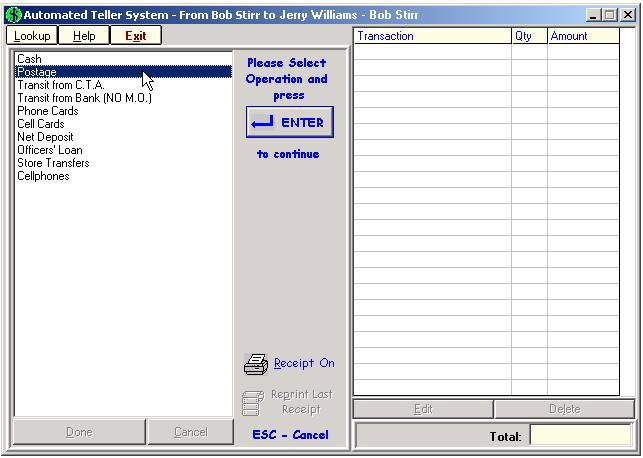
In the example above, From Bob Stirr to Jerry Williams is displayed in the blue header at the top of the screen.
The menu on the left represents different types of inventory, most of these containing submenus where the individual items are listed. Double click on the item to be transferred, or use the up and down arrows on the keyboard and press Enter.
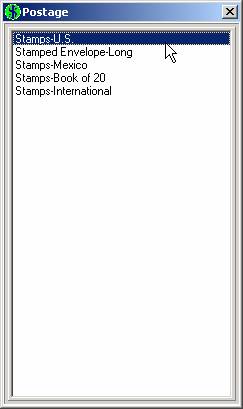
In this example, different types of stamps and envelopes are grouped together under the main menu item Postage. This arrangement provides a cleaner menu setup and a more efficient way to find the correct item.
Use the mouse or keyboard to choose the correct item.
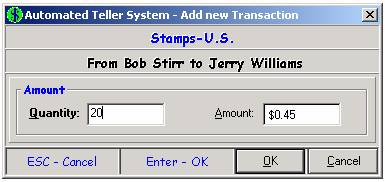
Enter the Quantity and press Enter. The transaction is now listed on the right side of the screen.
The Postage submenu remains on the screen. Repeat the process described above for additional Postage transfers, or press the Escape key to return to the main menu.
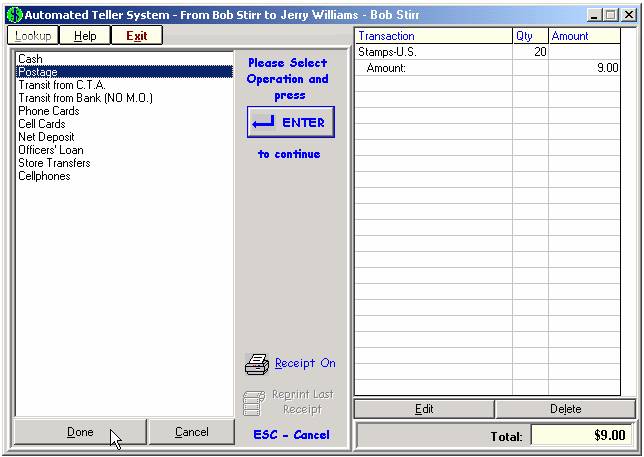
The transaction entered is now listed on the right side of the screen. To transfer another item in this direction, highlight the correct type of inventory on the left and repeat the steps above. Otherwise click Done (or one of the buttons described here).
Done— Completes the transaction.
Cancel— Cancels the transaction without saving your work. If more than one transaction has been entered, they are all canceled.
Edit— Return to the previous screen where the user can change the quantity entered. If more than one transaction has been entered, highlight the desired entry with the mouse before clicking Edit.
Delete— Deletes the transaction without saving your work. If more than one transaction has been entered, highlight the desired entry with the mouse before clicking Delete.
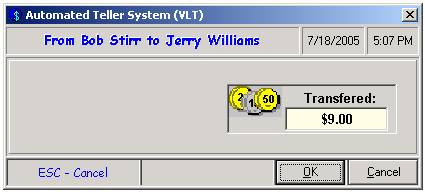
A final window appears verifying the direction of transfer and the value of inventory. Click OK if this is correct to complete the transaction. Cancel returns to the previous screen where adjustments can be made.
It is good practice to click on Reprint Last Receipt (located in the center of the screen) so both Tellers have a copy for their records.
Bring up the Vault menu where inventory is maintained and the store is closed out.
NOTE: There are also various reporting options in the Vault under the Reports menu.
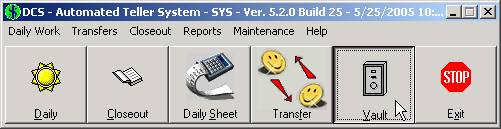
Click on the Vault button.
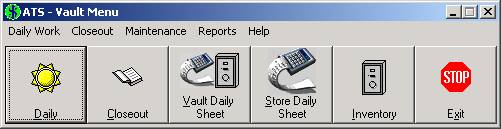
A second menu appears on the screen. The buttons and menus seen here are covered in the ATS Vault Menu documentation.