Maintain general settings for money orders and Chicago OTC stickers.
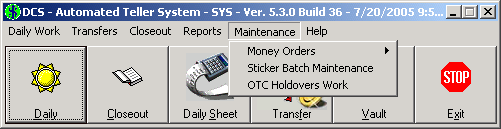
Below is an image of the Maintenance menu. Click any of the menu items to jump directly to that section.
View and change the current money order number, or enter the starting/ending numbers of a new box.
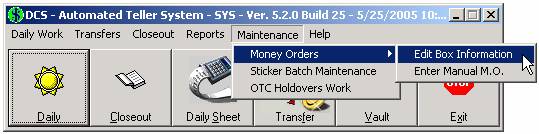
Click on the Maintenance menu and Money Orders. Choose Edit Box Information.
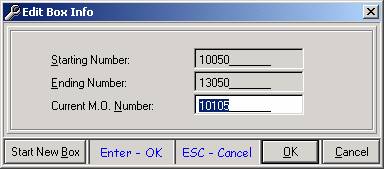
The Starting Number and Ending Number should coincide with the first and last numbers listed on the box. If these were entered incorrectly, they can be edited here.
The Current M.O. Number represents the next money order to be printed. It should always match the current M.O. in the printer.
This field may need adjustment whenever the printer jams, money orders tear, or any other incident that throws off the sequence.
The Start New Box button at the bottom left clears out the current fields.
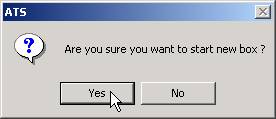
Click Yes to continue. New values are filled in for the starting, ending, and current fields based on the assumption that 3000 money orders are in each box, and that the next box follows sequence with the previous box.
Enter a money order into the system without printing it.
NOTE: This feature is used when a money order is made out by hand but still needs to be in the system for balancing and accounting purposes.
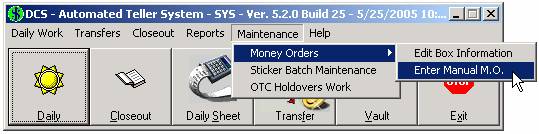
Click on the Maintenance menu and Money Orders, Enter Manual M.O.
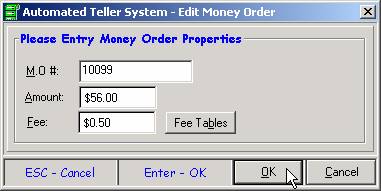
Enter the money order number and amount. The fee should populate automatically, but can be overwritten.
NOTE: The money order number cannot match one that was entered today, even if it was voided.
Click OK to continue.

The entry is now seen in the transaction list. Click Done to complete the transaction, or use one of the options described here.
Add— Enter another manual money order.
Edit— Return to the previous screen where the user can change the values entered. If more than one money order has been entered, highlight the desired entry with the mouse before clicking Edit.
Delete— Delete the money order. If more than one money order has been entered, highlight the desired entry with the mouse before clicking Delete.
Cancel— Cancels the transaction without saving your work. If more than one transaction has been entered, they are all canceled.
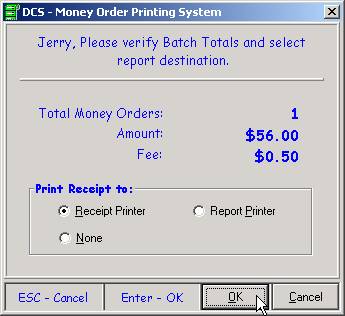
A summary of the transaction is displayed here.
The user is given the option to print a receipt for the money order(s). The default is Receipt Printer, but it can also be sent to the Report Printer.
Enter and view the sticker numbers available for sale.

Click on the Maintenance menu and choose Sticker Batch Maintenance.
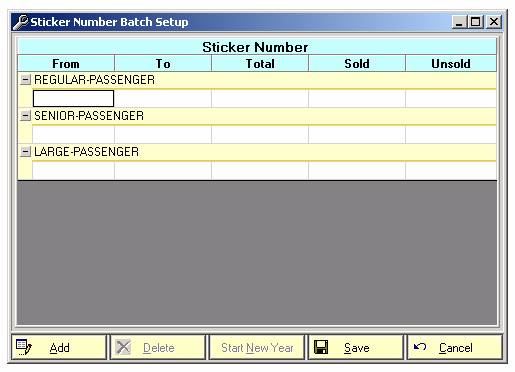
Add-- Click here to input the first and last sticker numbers in a batch. At least one batch must be entered for each type of sticker you intend to sell.
Delete-- Delete a sticker batch. This is not allowed if a sticker in the batch has been sold.
Start New Year-- Only enabled when the date is within 45 days of May 31st. Click here to clear out the previous sticker batches.
Once you have added or deleted a sticker batch, click Save to keep the changes made. Otherwise click Cancel to exit without saving.
The following window appears when the Add button is clicked.
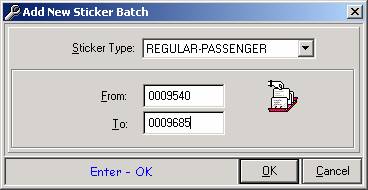
The Sticker Type is set to Regular-Passenger in this example. Use the drop down box to enter a different type of sticker batch.
Enter the first and last sticker numbers in the From and To fields.
Click OK if you are satisfied with your changes, otherwise Cancel.
Note: The changes made are not saved until you click Save on the Sticker Batch Setup screen.
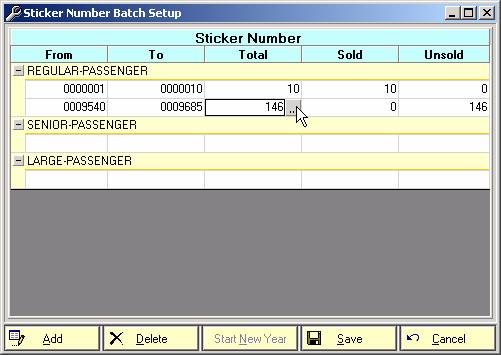
The batches entered are now shown here. To view the details of any stickers in a batch, click on the ![]() .
.
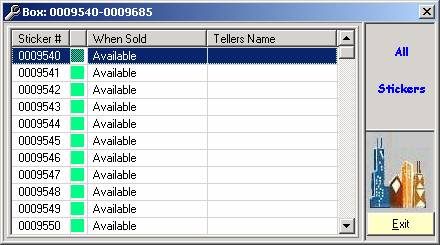
It is then possible to view the availability of any stickers, which ones were sold, and the teller who sold them.
Complete the customer information for a sticker that has been sold but not uploaded.

Click on the Maintenance menu and choose the OTC Holdovers Work option.
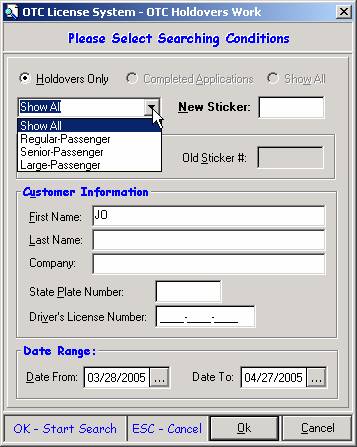
Pressing Enter without changing any of the settings brings up all holdovers within the last month.
A drop down window allows the user to narrow down the search to a certain sticker type. Choose the correct sticker type from this list, or leave Show All to view all types of stickers.
Enter the customer information. It is good practice to enter as little information as necessary on this type of screen. This way mistakes such as misspellings do not overly limit the search, preventing the correct records from being found. In the example here, only the letters “JO” are entered in the first name field.
Finally, the default date range is for the most recent month. Type new dates in the text fields or click on the ![]() to choose the date from a calendar.
to choose the date from a calendar.
Press Enter or click OK to see the results. The OTC Lookup window opens.
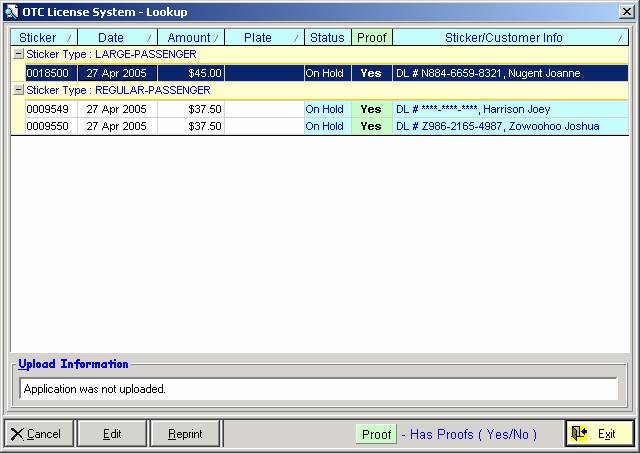
A list appears matching the search conditions entered. If the desired holdover applications is not seen here, click Exit and enter a new set of searching conditions.
This window displays basic information about the stickers sold. The sticker number, date of purchase, price, and plate number are the first four columns to the left. A sticker number in red with a line through it indicates that the application was canceled.
Every application in the list has the On Hold status since these are all holdovers.
The Proof column indicates whether proof was available. Click on the Yes in the proof column to view what type of proof was given.
The Sticker/Customer Info column displays the driver’s license number and customer name for manual entries.
The buttons at the bottom of the screen provide additional functionality for the highlighted customer.
Cancel— Cancel the application. This application can no longer be edited, closed-out, or uploaded.
Edit / Lookup— Allow the user to edit or complete an application. See the OTC documentation section for details on filling out applications. For canceled applications, the information can be viewed but not edited.
Reprint— Prints the sticker as if the transaction was just completed.
Exit—Return to the search window. Please note: the Exit button is the default, so pressing Enter here closes the window. To edit the highlighted application click Edit.